
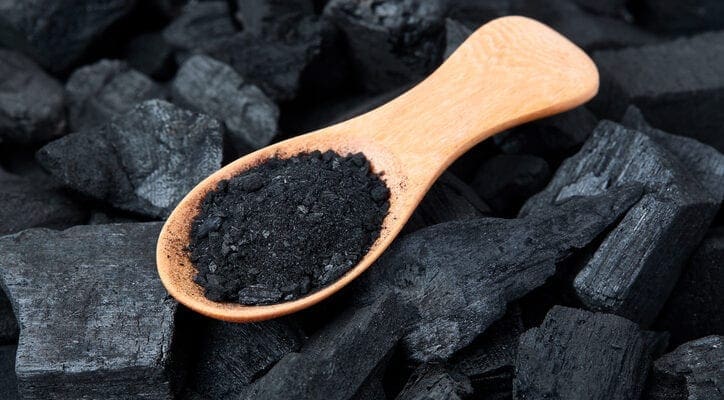
Biochar is said to be highly beneficial to the soil. KG reader Alan Free has spent many years perfecting a simple way to make it at home
Biochar is basically a form of charcoal that is made from anything that was once living, either animal or vegetable. Many things from wood chip to chicken manure have been used, even household waste is being considered, but on a large scale the equipment is expensive.
Biochar is not a fertiliser: it can be compared to a hard sponge with microscopic pores which provides a home and support for all the soil micro-organisms, fungi, etc. that are important for the breakdown of organic matter into plant food. It needs to be primed with compost and organic manures. Commercially It is obtainable either dry or ready primed with micorrhizal fungi and an organic based fertiliser. The primed biochar can be added at any time, but best when the ground is not being used giving the micro-organisms in the ground a chance to develop within it. You can prime dry biochar with any organic “tea”, liquid fertiliser from a wormery, or teas made using manure, comfrey, nettles, etc. either used separately or combined. Dry biochar can be added gradually to your compost heap, this will allow it to absorb the micro-organisms that are present in YOUR garden.
Enjoy more Kitchen Garden reading in the monthly magazine.
Click here to subscribe & save.
I have treated its use as a long term project – so far, 10 years and there has been a steady improvement in the garden fertility. Having researched different ways to make smallish amounts of biochar I experimented and eventually came up with something simple and with a relatively cheap outlay.
Making biochar removes carbon dioxide which is normally released by decomposing matter. It is converted into carbon (biochar) which does not rot very quickly (thousands of years). The other gases released, which are worse than carbon dioxide for global warming, are burned away harmlessly.
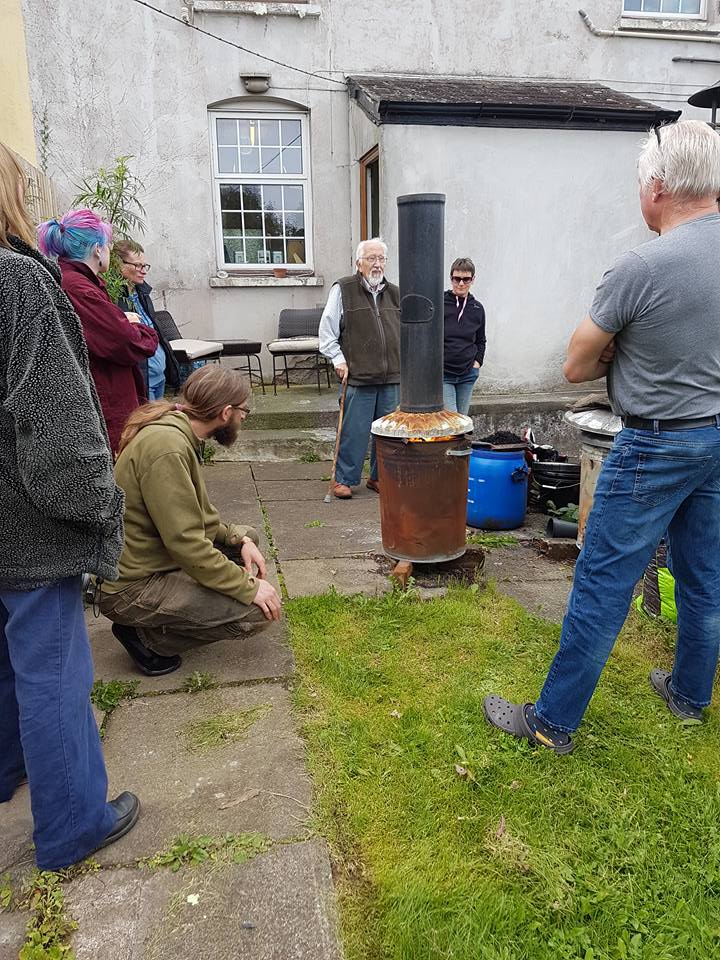
Alan explains his biochar-making technique to a group of keen gardeners
TO MAKE YOUR OWN BIOCHAR YOU WILL NEED
2 Metal dustbins
1 Plastic dustbin
2 x 12 litre buckets (plastic)
2 x 10 litre buckets
1 Chimney 75 cm to 90 cm length . Minimum diameter 20cm
2 Iron bars 15mm diam or square, 60cm long.
1 pair VERY heat resistant gauntlets
Wood chip to convert to biochar
Total Cost about £150
Bin No.1 (the burner) needs about 50, 10mm holes drilled randomly in the bottom (none in the sides). In the top centre of the lid cut a 15cm circular hole (around the handle). Make cuts about 15mm long outwards around the hole and bend the metal up, this will ensure that the chimney is reasonably centrally placed . If you can, screw or bolt the handle back onto the lid as it helps with handling when hot.
The second bin is used for cooling the hot biochar and stop the burning. A flat board instead of the metal lid will prevent the oxygen getting in and continuing the burn.
A space is needed between the burner and the lid. For this two metal bars can be placed on top of the burner before placing the lid on top.
Once the burn has started the chimney can be placed in position on the lid.
Three bricks laid flat under the burner are essential to allow the air to get under the bin.
I use a fine wood chip which is normally used for animal bedding. This has had the fine dust removed (which can badly affect the burn). Fill the burner to about 15cm from the top (DO NOT COMPRESS). This space and the space in the lid is an ‘after burn’ area and you will be able to see the flames through the gap under the lid. It usually burns without creating any smoke. Finally, when smoke does appear the biochar has been made. Unless it is extremely hot, check this by stirring with a stick. A small amount of chip not burnt won’t matter as this will compost down when in use.
The only replacement that will be needed at some time (about 15 burns) will be the burner. This method will eventually bring the cost of biochar down to less than 50p a litre.
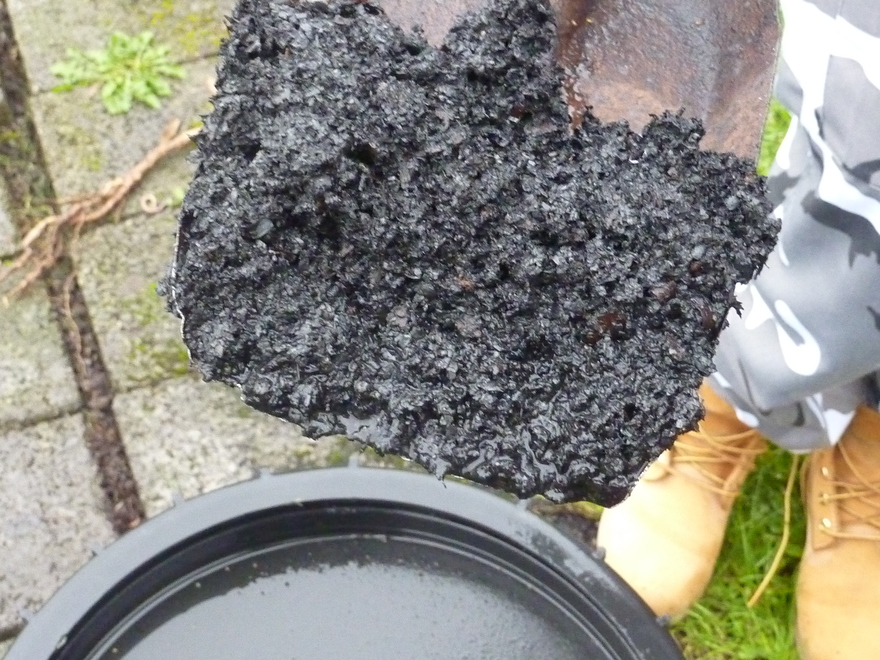
The finished biochar primed and ready for storing
The plastic bins are used for priming the biochar. The larger buckets should have a series of small holes drilled in the bottom to act as strainers for the primed biochar before storage.The two smaller buckets should allow the larger ones to sit on them to collect the primer solution which can be reused.
For more information email Alan: [email protected]
 Enjoy more Kitchen Garden reading in the monthly magazine. Click here to subscribe.
Sign-up to the Kitchen Garden Magazine Newsletter
Enter your e-mail address below to see a free digital back issue of Kitchen Garden Magazine and get regular updates straight to your inbox…
You can unsubscribe at any time.
About the Author

- The Cottage Garden Society ‘Grow In Pots’ For The Malvern Show 9-12 May - 12th April 2024
- Arundel Castle’s Tulip Festival returns - 7th February 2024
- FREE TREES FOR SCHOOLS - 4th January 2024