Make the most of nutritious worm poop and pee in your small garden by building your own makeshift wormery says the sustainable gardening charity, Garden Organic.
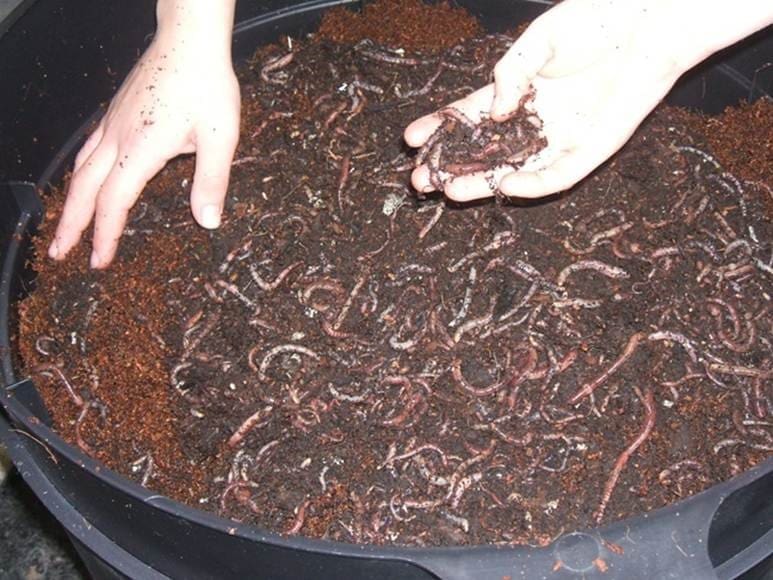
Composting worms or ‘brandling’ worms do a fantastic job breaking down kitchen scraps and plant materials into nutritious compost, alongside microorganisms, insects and fungi.
But you don’t need a full-size (and often expensive) wormery to take advantage of this vermiculture or ‘vermicomposting’, which produces nutrient-rich worm castings that can be used as a soil conditioner and liquid plant food. You can make your own smaller version using plastic stacking trays.
Enjoy more Kitchen Garden Magazine reading.
Click here to subscribe & save.
How to make your own wormery
What you’ll need:
• 3 shallow plastic stacking trays in a dark colour, approximately 28cm x 40cm and 13cm deep
• 1 close-fitting lid to fit onto the top tray
• Drill with 5-8mm drill bit
• Fine sandpaper
• Worm bedding such as corrugated cardboard
How to assemble:
1. Drill holes every 3cm into the base of two trays – and add holes to the sides to improve aeration.
2. Sandpaper around the holes to ensure there are no sharp edges.
3. Stack up the trays, one inside the other, popping the one with no holes at the bottom.
4. Put 4 large stones in the bottom and middle tray to create a bit of space between the layers.
How to use your wormery
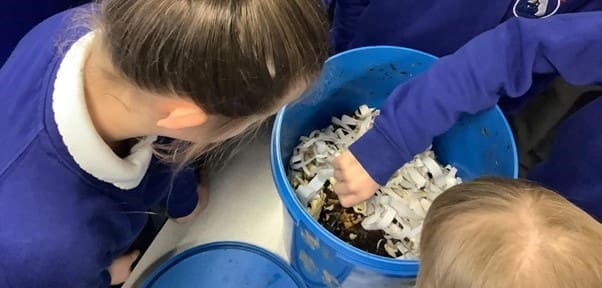
1. If you already have a compost heap you can add some worms from here – but you can also buy brandling, red or tiger worms from a wormery specialist or fishing shop.
2. Add a few scoops of damp soil, compost or shredded paper to the top section along with your worms. Cover the top tray with five sheets of double newspaper. This helps to get the worms accustomed to their new home and prevents them leaving. Eventually you can add your lid.
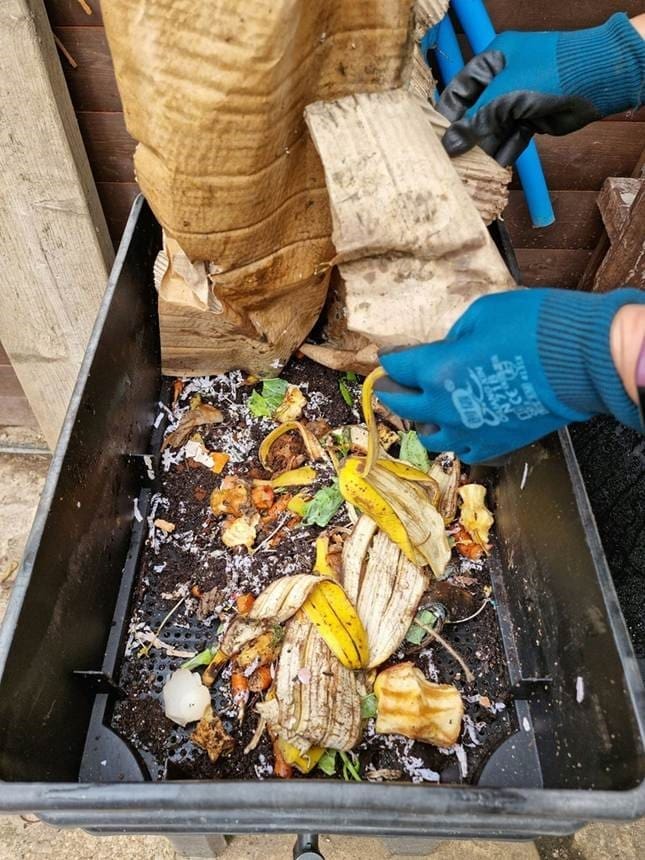
3. Over the next few weeks, gradually add your kitchen waste – this can include chopped-up vegetable peelings, crushed eggshells, coffee grounds and tea bags. Pop your wormery somewhere sheltered between 12-25 degrees and out of full sun. (In the winter you might want to bring it into the protection of a shed or greenhouse).
4. Be patient! After eight to 12 weeks, you should see lovely, crumbly worm compost collecting in the middle tray. The bottom layer will also be collecting nutrient-rich liquid – which can also be used as a plant fertiliser when diluted.
Top tips from our master composters
• Worms seem to love corrugated cardboard and cluster in and underneath it. Use it as a bedding and a breeding area and gradually break it down. (Just watch out for any cardboard that uses glue between the layers, as the glues can contain plastic) – Rachel Phillips-Street, senior project coordinator for Shropshire Master Composters.
• Baking and grinding eggshells to mix with your worm feed every so often is said to aid the worms’ digestion. Chop your food scraps up small and allow to soften up before adding to the wormery. Add food into one corner, rather than scattering it about as this seems to help the worms process it more quickly – Kate Eastment, project coordinator for North Somerset Master Composters.
• In an ideal closed system environment with adequate food and favourable aerobic moist conditions, these composting worms can reproduce well, sometimes 2-3 cocoons every week! Start in the warmer season and try to provide conditions as close to their natural environment – living near the woodland surface and feeding on decaying organic matter – and you will get a mass of happy wiggler families – Shropshire Master Composter Chris Sedgley.
• Worms may try to migrate from your wormery if it becomes too acidic. While they love most vegetable peels and fruit scraps, they don’t tolerate citrus, garlic or onions well and too much of this type of material in one go might make the composting environment unpalatable – Frankie Kennett, project coordinator for Cumbria Master Composters.
• To harvest the worm castings, lay out a groundsheet or large piece of cardboard on the ground, then arrange the contents of the wormery in cone-shapes on the sheet. The worms will head to the bottom to avoid the light. After 10 minutes, the top of each cone should be worm-free. Scoop off the top and form a new cone. Repeat until the worms have nowhere left to go then return them to the wormery – Kate.
• You can overwinter worms outside in a raised bed too, just add a good mix of sawdust and manure, and the worms original bedding. Cover with insulation, such as layers of thick card and make waterproof with a cover. When you look again in spring you might just find the population has increased – Chris Sedgley.
For more organic gardening tips and projects, head to www.gardenorganic.org.uk, where you can also find out how to support the charity by becoming a member.