Grow your own vegetables for the festive table and turn up the dial on taste! Christmas may feel like a very long way off, but plans for home-grown festive fare start now, says Benedict Vanheems.
Christmas? Really? I know, I know… I’m with you on that one. Perhaps it’s a symptom of getting older and wearier, but my heart sinks at those first Christmas-themed TV adverts – all jingle bells and snow while the trees outside have barely turned colour for autumn! So, I do get your eyerolls. Honestly, I do. But, please, bear with me for a moment.
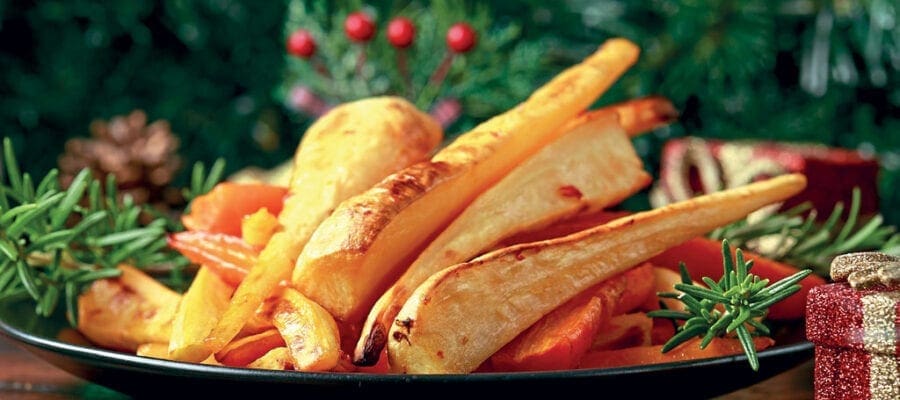
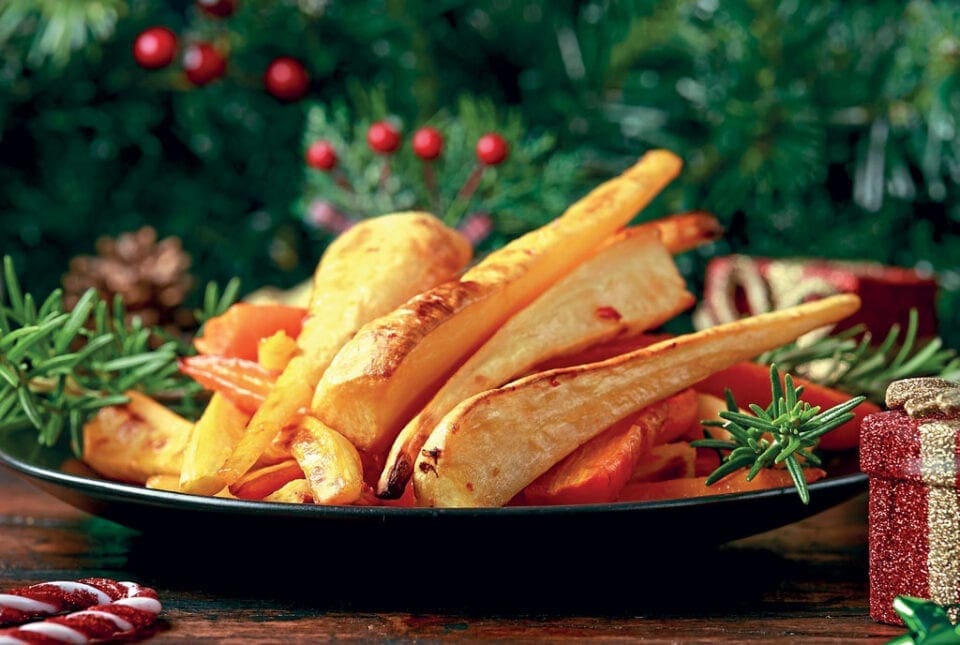
Consider how much time we spend planning the perfect Christmas dinner. There’s the free-range Norfolk Bronze turkey; the Marsala-steeped cranberries; the apricot-and-sausage stuffing with rich onion gravy that’ll leave Nigella Lawson blushing… a lot of time and love is poured into the average festive feast. But grow the vegetables that fill your plate and your Christmas meal will reach a whole new level of taste and character.
Enjoy more Kitchen Garden Magazine reading.
Click here to subscribe & save.
There’s no reason you couldn’t grow every one of your Christmas veggies: from sprouts to spuds, carrots to cabbage, and even cranberries. Make a little time to plan ahead and your Yuletide larder could be packed full of all manner of fresh, nutritious home-grown produce to keep visiting friends and family well fed, happy and jolly impressed.
Spring is the time to start
Begin by preparing seedbeds. Remove any weeds then rake the ground to a fine, level tilth. Sowings can commence as soon as the ground isn’t too cold to the touch. Some gardeners advise the time is right the moment you can comfortably sit on the ground on your bare rump. Give it a try if you like, but I’d suggest the back of your hand is as good a judge of soil temperature!
How to grow you own parsnips and carrots
The journey to the Christmas table starts in spring, typically in April, the moment the soil has dried out enough to become workable. At this point the starting gun is fired – we’re off!
First out of the seed box are our root crops. Choose disease-resistant, long-storing varieties of maincrop carrots and parsnips. Sowings can begin from late April but holding off until late May or early June avoids the first generation of carrot flies, getting your crop off to a clean, unblemished start. Later sowings also have the advantage of a warmer soil to hasten germination.
Sow thinly then, if necessary, remove excess seedlings on a calm day to avoid their scent wafting far and wide and attracting the unwanted attention of carrot flies. Aim for an inch or two between carrots within the row, and 10-15cm (4-6in) apart for parsnips.
The first half of winter up until Christmas is usually quite mild, so you should be fine leaving mature roots in the ground until you are ready for them. Parsnips taste best after a frost as the cold converts starches in the roots to sugar. Light frosts that thaw by day are just the ticket, but if a prolonged freeze threatens to turn the ground rock hard, make life easier and dig up some roots in advance. Store lifted roots in crates of just-damp sand or soil in a cool but frost-free place.
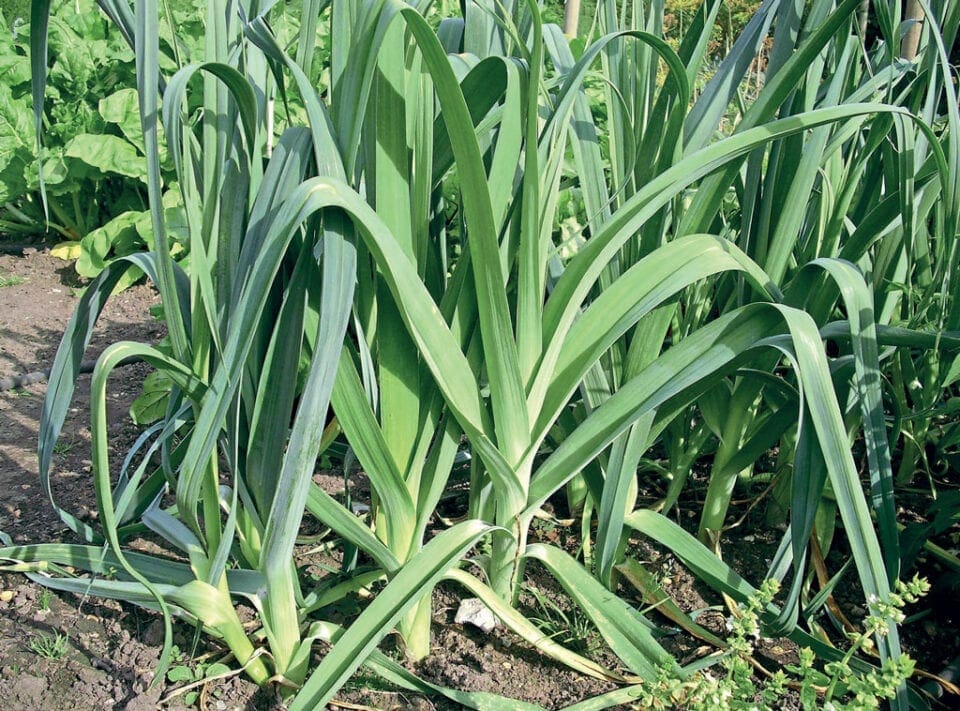
How to grow your own leeks
Leeks occupy the ground for ages, but boy are they worth it! Choose a rust-resistant variety that stands well over winter.
Start the seeds off in trays or pots of compost from April. Cover the tray with a clear plastic bag or propagator lid to speed up germination then grow the seedlings on to plant out once they have reached about 20cm (8in) tall, usually around June.
Planting leeks always reminds me of my grandfather, who patiently taught me how to dibble a hole for each leek before settling the young plant into position by filling the hole to the brim with water. Sometimes the old ways are best, and this dibble, plonk, fill and leave strategy has served me well, consistently producing long, white stems.
Make the holes 15cm (6in) deep and space them 20cm (8in) apart in both directions. Don’t be tempted to backfill the holes with soil, which will only result in gritty stems – and no one wants that on Christmas Day!
How to grow your own brassicas (Kale, Brussels sprouts & cabbage)
Kale, sprouts and cabbage – red and Savoy – are a must at Christmastime. Start your brassicas off in module trays under cover from May. You can, of course, sow them direct, but starting seedlings away from actively growing beds means crops can in effect overlap, making the most of the space you have.
Sow a scant pinch – two to three seeds – per module then cover with more compost. Maintain a steady, moist growing environment then set the young plants out into their final positions from June, or as soon as ground is vacated by an earlier crop. You can buy more time by potting seedlings on into larger pots until you are ready to plant them.
Position cabbages and kale about 60cm (2ft) apart, and Brussels sprouts at around 45cm (18in). Don’t be shy in firming them in; then, once you’re done, water newly planted areas with a thorough puddling. Brassicas like firm ground and prefer it on the alkaline side. If your soil is acidic (a pH below 7.0) prepare it well in advance by sprinkling on garden lime. Once plants are settled in and growing strongly, top-dress the ground with a scattering of chicken manure pellets to give a welcome boost of nitrogen.
Brussels sprouts can get rather top-heavy and lean precariously to one side. Tie the stems to supports such as bamboo canes if this happens. Mounding up soil around the base of the stems later in the summer is another way to shore up these lanky plants.
Cabbage white butterflies are an inevitable challenge from summer. Plant nasturtiums to lure them away from the crop or, better still, set up butterfly netting to keep the adults from laying eggs on your plants. Cabbage aphids are an increasing nuisance as our summers become warmer. Blast off small outbreaks with a high-pressure spray from a hose and grow flowers to attract predators such as hoverflies and ladybirds.
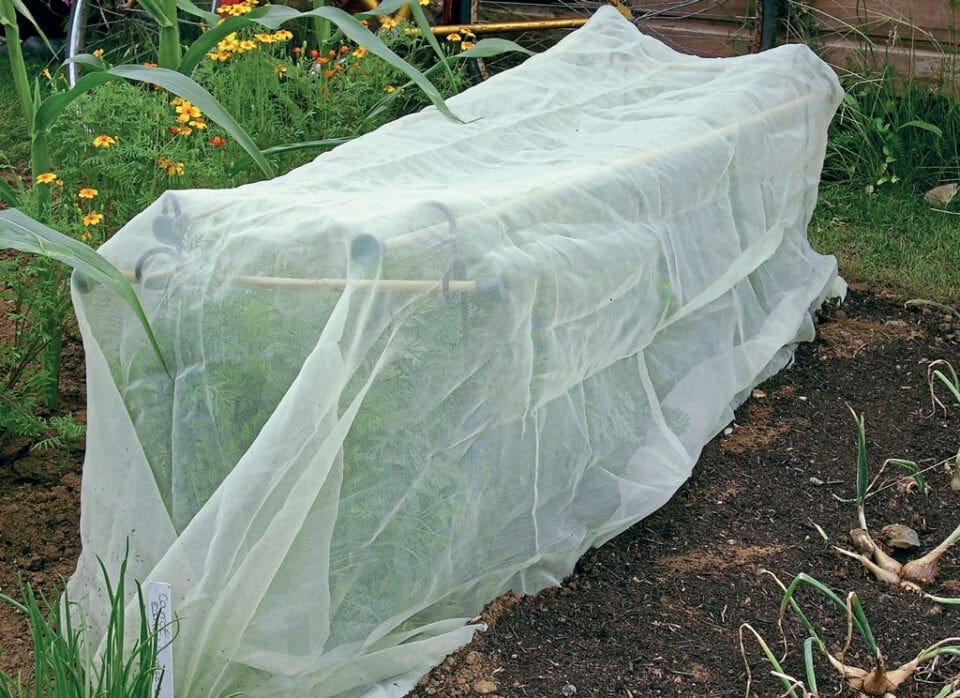
Completing our band of brassicas is the humble swede, which is best sown direct from May. Watch out for flea beetles or avoid the tell-tale pockmarked leaves altogether by covering plants with horticultural fleece or insect mesh.
How to grow your own roasties
Golden roasties – crunchy on the outside, fluffy on the inside – are a winner at any time of year, but especially Christmas. To supply home-grown potatoes to the festive table you have two options available to you: grow a maincrop variety then store the tubers and hope for the best, or grow a late summer crop – called a ‘second crop’ – and… hope for the best.
You see, stored tubers may not last the course, while a dull, cool end to the growing season could test your chances of a decent second crop. Christmas spuds are a tricky business, so hedge your bets and grow both types if possible.
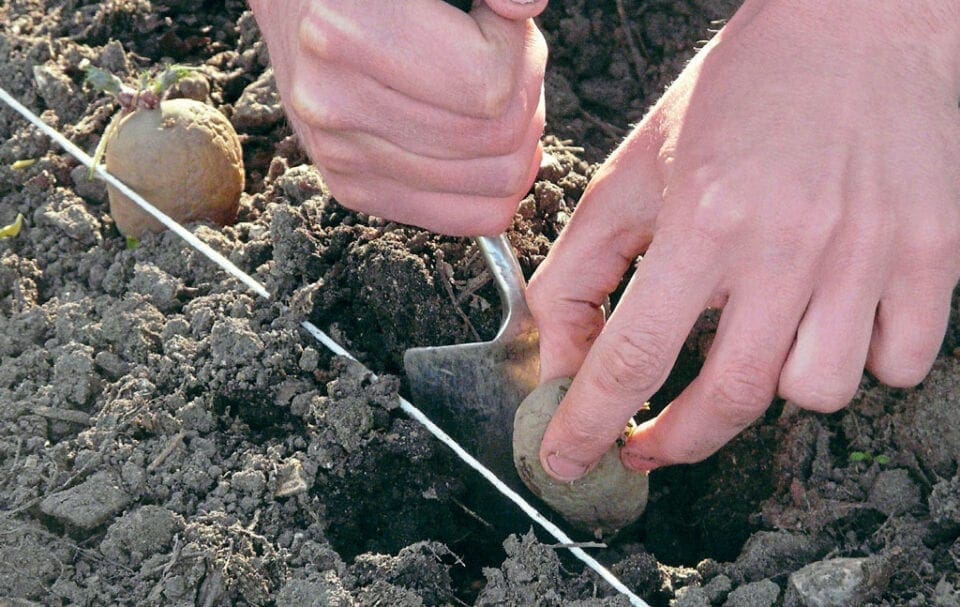
Let’s start with conventional spring-planted spuds for which you will need a maincrop variety to get into the ground towards the end of April. Tip the odds in your favour by growing a robust variety that is known to store well. Chit (sprout) seed potatoes ahead of planting then set them 45cm (18in) apart in trenches spaced 75cm (30in) distant. Earth up the rows as the foliage grows by drawing up soil along the stems.
Maincrop potatoes take up to 20 weeks to reach harvest, by which time the foliage is starting to wither away. Leave the tubers in the ground for another fortnight to help the skins toughen up for storage, then lift them up, leaving them on the soil surface to dry out for a couple of hours before gathering.
Store only unblemished potatoes somewhere cool, dry, dark and well-ventilated. Nets or hessian sacks are handy for this but keep them clear of the ground in case of vermin. Check stored potatoes regularly, removing any that are going soft or looking suspect in any way.
Now for your second crop. Get these planted in early August using seed potatoes sold specifically for this purpose. Second crop seed potatoes have been held back in cold storage and are raring to grow, so there’s no need to chit them.
Plant them into potato growing sacks or large containers and grow them on in a warm, sunny spot. Bring them into a frost-free greenhouse or conservatory to continue growing when the temperature cools off from early October. The tubers will be ready to harvest from November, as the foliage dies back. Store them carefully and they should remain sound till the big day.
Home-grown produce can and should play a starring role in this year’s Christmas dinner. I invite you to aim high and grow as much as you can for the healthiest, tastiest festive fare you could possibly imagine. Now’s your opportunity to make plans and lay the groundwork for an exceptional meal.