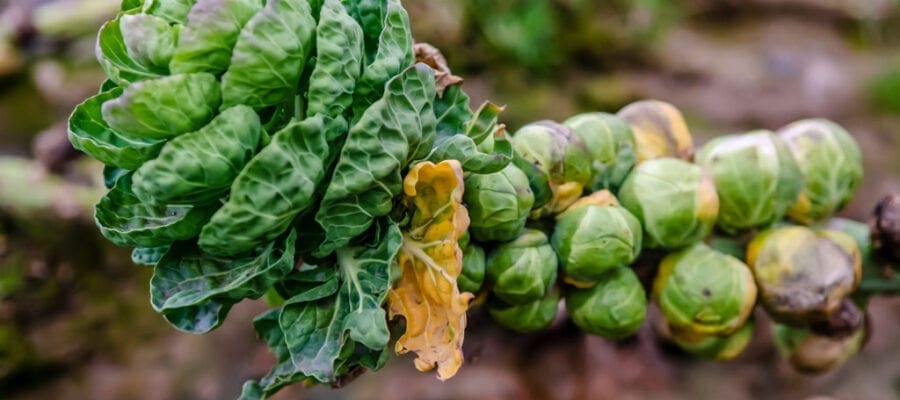
The Brussels sprout is a much-maligned veg probably due because of childhood experiences of eating it overcooked. However, when fresh and picked small straight from the plot, then boiled lightly, this is a truly delicious veg.
It is even better if cooked in more adventurous ways. Sprouts do however take up a lot of space and are in the ground for many months, so only consider growing them if you can spare the room.
Brussels Sprouts growing calendar

Brussels Sprouts Varieties
- ‘Crispus F1’
An early variety with along harvesting period. The small tight buttons area lovely dark green colour. Good clubroot resistance. Great flavour. - ‘Cascade’
Has a Royal Horticultural Award of Garden Merit (AGM) meaning it perfomed well in trials at the RHS Wisley Garden in Surrey. Good in all weathers and resistant to mildew disease. - ‘Franklin F1’
A really early, reliable sprout. - ‘Clodius F1’
Medium-sized plants with good solid sprouts. Harvest from December to February. Good disease resistance. Popular variety when trialled. - ‘Trafalgar’ F1
A heavy cropping variety producing firm sweet buttons. - ‘Valencia’ F1’
A new variety, also with an RHS AGM. Has a purple tint to the leaves. Grows to 1m (3ft) and has well spaced buttons.

Sowing & Growing Brussels Sprouts
Brussels sprouts can be sown as early as February, although at this time it is best to sow them in cell trays or pots inside a warm greenhouse or on a windowsill indoors.
Enjoy more Kitchen Garden Magazine reading.
Click here to subscribe & save.
If you wait until March they can be sown straight on to the plot in a seed bed. Prepare the ground well adding garden compost or farmyard manure. Preparation of the soil is best done in autumn to allow winter rains to soak and firm the soil.
Brussels are in the brassica family and they like their roots to be planted firmly. When sowing use a line and make a small groove in the soil with the corner of a hoe or use the end of a stick. It needs to be about 13mm (1⁄2in) deep.
Water the seed drill and then sow the seed. It can be sown fairly thickly, at least a seed every 6mm (1⁄4in). Pull back some dry soil over the seed drill and gently firm. Once the seedlings are through, watch out for flea beetle damage. This pest is a tiny shiny beetle that nibbles and makes holes in the leaves. If spotted, put some thick glue along a piece of wood and brush over the seedlings. The flea beetles, like their name suggests, leap from the crop and will stick to the wood.
When the seedlings are large enough to handle, remove a few to prevent overcrowding, spacing should be about 8cm (3in) apart. When they are about 10cm (4in) high they can be planted out into the veg patch where they are to crop. Space them about 60cm (2ft) apart and again plant them using your heel to firm them in.
More on Brussels Sprouts
More grow guides
For more growing tips and guides, you should subscribe to Kitchen Garden – you’ll receive free seeds with every single issue too!