So you want to start growing veg or expand an area you already have but you’ve no idea where to start. Or are you about to take on an overgrown allotment? Emma Rawlings offers some tips.
Starting to grow your own vegetables is a really exciting project but can seem a bit overwhelming at first. The best way is to start small and keep adding more areas and crops as you build up confidence. So the first question is: what type of plot are you planning? Is it a veg plot from scratch in your back garden? Do you want a few containers on a patio or maybe you are just about to take on an allotment? Here are a few pointers to help you get going.
1. PLOT FROM SCRATCH
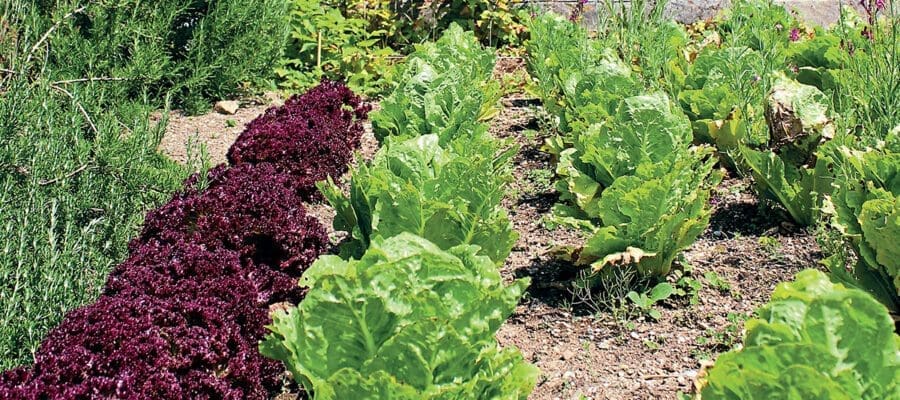
So you have a garden and want to grow a few veg? The question is: where do you do it and how do you go about it? Ideally you want a sunny spot. That said, there is a lot you can grow in part shade. The other issue is the state of the soil where you want to grow. The best place will be a piece of lawn or an area previously used as flower borders. If it is in part of a garden which is full of rubble and waste or is an old patio area, then maybe raised beds might be a better option here unless you are prepared to put in a lot of extra preparation work first.
Enjoy more Kitchen Garden Magazine reading.
Click here to subscribe & save.
TURNING LAWN INTO A VEG PATCH
“Making your own compost is as important as the plot itself as it returns the goodness to the soil that you removed in growing the crops”
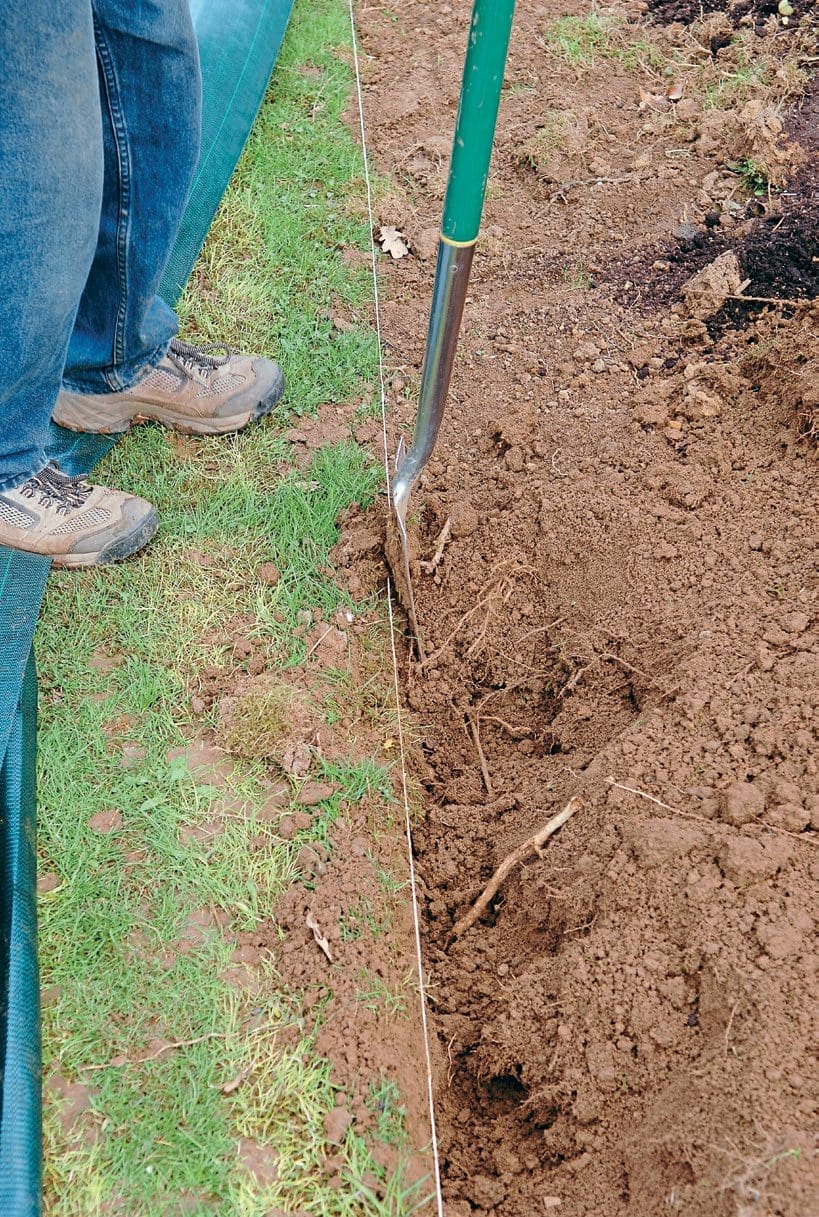
If you are creating a veg patch from a piece of lawn you have a few options. If the area is not too big, you can lift the turves of grass with a spade. It helps to mark out the area with strings then insert a spade into the turf by 5-8cm (2-3in) and then make two lines a spade’s width wide. Then you cut short cross-sections along the length and then push the spade under to lift the turves. The grass should lift up in nice blocks. These can be used elsewhere in the garden if you want to grass an area. It can be given away or you can make a turf stack by piling up the turf, with grass facing grass. Eventually it will break down and give you some nice topsoil to put back on your borders. If you have a large area you can hire mechanical turf lifters if you need help with this.
You often find quite good soil beneath a lawn although it can be compacted from years of foot traffic. So the next step is to fork over the soil beneath to break up this hard pan. Once the soil is dug over you may be ready to plant if the soil is good. If the soil is really heavy and sticks to your fork badly, it could be very clayey. If the soil is the opposite, it could be quite sandy. A nice loamy soil will be fairly easy to dig and break up nicely into a crumbly material and be quite dark. There should be plenty of worms too.
DOUBLE DIGGING
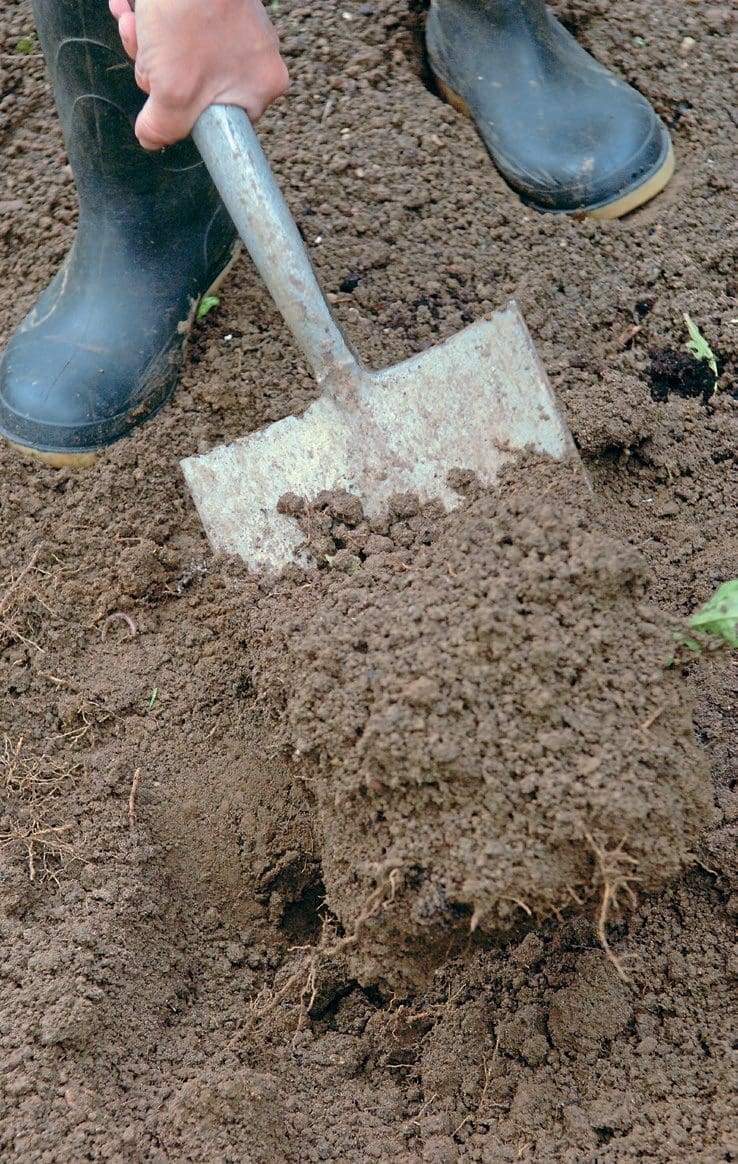
If you feel your soil is not that good then it may pay to do some extra preparation before sowing. You could double dig at this stage, incorporating well-rotted garden compost or manure if you can source some.
Double digging is digging deeper (over a spade’s depth) than you normally would and starts with a trench. The soil from the first trench can be put to one side or in a barrow or at the far end of where you are digging. Then add some compost or manure to the trench, fork in and then start the next row, piling the soil on to the manure in the first trench. Work your way back, adding some compost/manure as you go. It is hard work and it is a deeper working of the soil but it can be a one-off when you first start the plot to open up the soil, incorporate organic matter and just get the soil worked and loose to a deeper level.
SPRAY AND DIG
Mark out the area you want as the veg bed and then spray the grass with a non-residual herbicide before digging the grass in. You may find that some regrowth occurs and this can be weeded out later. Don’t want to use weedkillers? Then simply cover the soil with cardboard or ground cover fabric until the grass dies.
NO-DIG BED PREP
Charles Dowding is a ‘no dig’ specialist and has accumulated a wealth of knowledge he now passes on to others in courses and books. The no-dig method is about leaving the soil undisturbed and feeding the soil with organic matter to encourage a natural environment, teeming with soil life.
A soil that is full of the right soil flora and fauna in balance will produce the best crops. We recommend you visit Charles’ website for more details on the subject at www.charlesdowding.co.uk. Charles also starts plots using the no-dig method. A permeable (biodegradable) material such as cardboard is laid over the ground. The ground can even be weedy (preferably not a really persistent perennial weed) or a lawn. Then a generous amount of compost or rotted farmyard manure is piled on top (roughly 5cm/2in). This you will have to source and make sure the manure is not from animals that have been on pasture treated with weedkillers.
The beds are not dug but are created in such a way you can reach to the middle from both sides. You don’t need sides for these beds although initially some temporary wooden logs or posts laid on their sides can help to keep things tidy while the beds are being formed. You could use cardboard or other materials such as woodchip between the beds to create pathways. Initially, planting into these beds it is best to use vegetable plants or maybe potato tubers if at the right time of year. Each year more organic matter, either from your own compost heaps or imported, is put on the beds. This is a great method for many reasons. It means you avoid the hard annual digging-over of the plot.
The no-dig method is also well known to be an excellent way to keep the soil in good health. Digging can actually damage the delicate balance. The only downside is requiring plenty of organic matter to top up the beds every year. You can create your own organic matter if you make your vegetable plot first, then the next job is to make a compost heap to feed your plot. Making your own compost is as important as the plot itself as it returns the goodness to the soil that you removed in growing the crops.
NO DIG AT CLUMBER PARK
Check out our YouTube channel to see how they create the no-dig beds at the National Trust Garden Clumber Park (Notts).
CREATING LAZY BEDS
This is a very old method of starting a veg plot that was originally used by farmers in Ireland and crofters in Scotland to start their plots. Their all-important staple crop, the potato, was planted by this method. It literally is cutting the turf and peeling back and then planting. The crofters near the coast would use copious amounts of seaweed on the new beds to improve the soil. An alternative to seaweed is home-made garden compost or farmyard manure. There are subtle differences in the technique but one of the more modern ideas is to lay a line of cardboard on the grass and then heap up manure or compost on top then plant your seed potatoes and cut the turf either side. These are flapped over the manure and potatoes. You can backfill with a bit more compost if there is a slight gap. Once the crop is finished you have beds to grow more crops in.
2. CONTAINERS AND RAISED BEDS
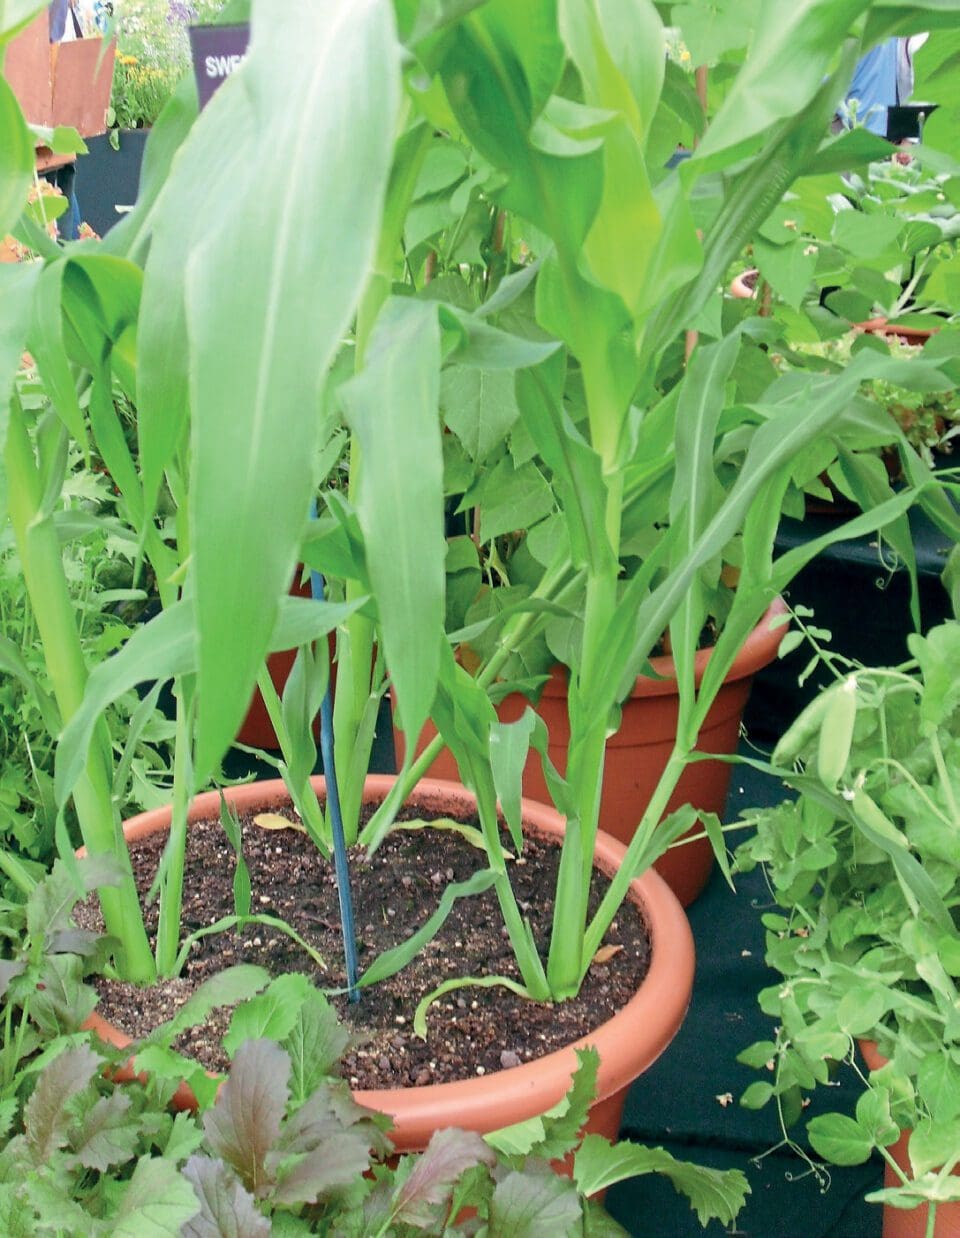
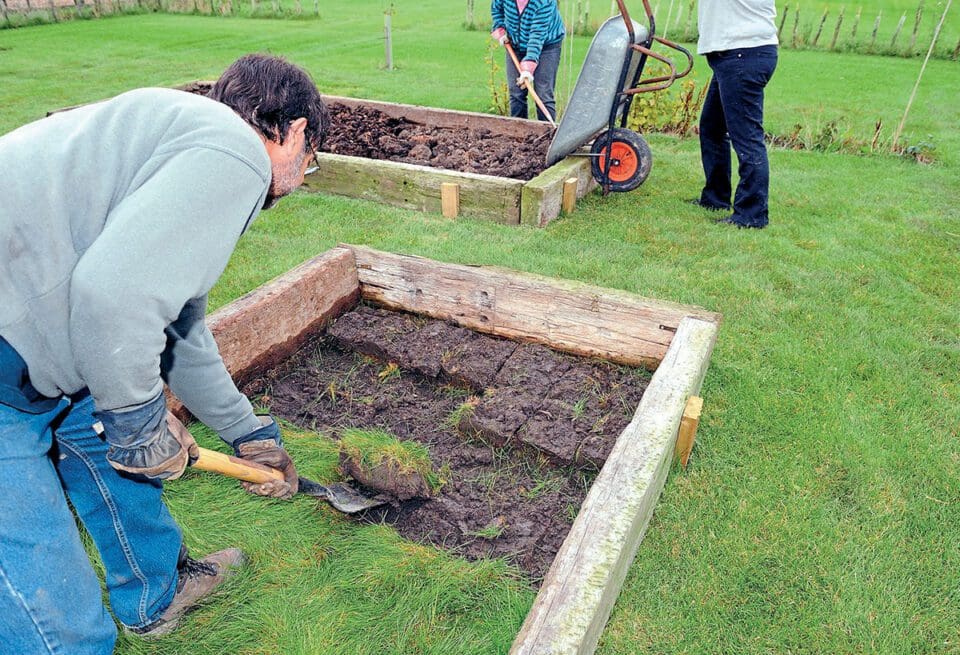
If digging up an area of your garden is not possible, you can grow lots of veg in containers or create some raised beds. Any container that holds compost or soil can be used as long as it has drainage holes in the bottom. Buckets with holes drilled in the bottom are good to start with as you don’t need anything fancy. If you are planning on using a lot of large containers or building raised beds, it may be a good idea to buy in some topsoil (Rolawn do Vegetable & Fruit Topsoil), which you buy in bulk. Soil will retain moisture and nutrients better than compost and if using in pots, these are more stable filled with soil. Plus you are not using peat-based composts and if it’s a long-term project, soil would be better.
MAKE A BUCKET GARDEN
Check out how on our YouTube channel.
COVER THE WEEDS
Check out our YouTube video on covering areas of your plot to prevent or kill off weeds.
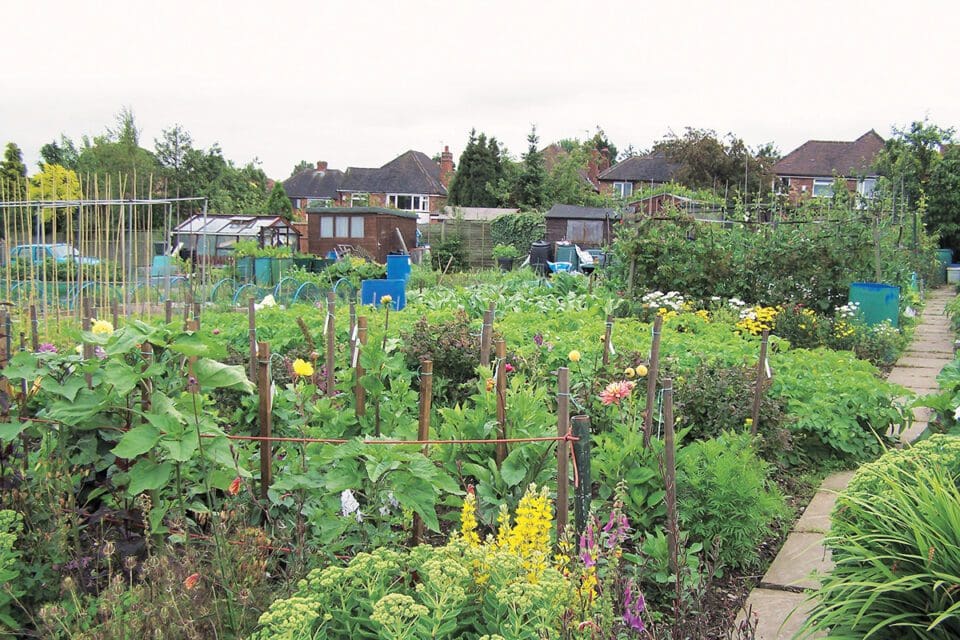
3. GETTING AN ALLOTMENT
Taking on an allotment is a big commitment and in some parts of the country there is a long waiting list, but once you get your plot the fun can begin. If you take on a badly overgrown plot, it can be a bit daunting and it may be best to not try and clear it all in one go. Divide it up either in your head or create a drawing of the plot and peg/string out certain areas. If the ground does not seem too bad, areas can be covered in Mypex or cardboard, weighted down and just left until you are ready to work them. Carpet is often used but not always recommended as it can contain toxins and it sometimes shreds if left down for a long time and eventually soil covers it. Anyone who has inherited a plot that has had carpet put down years before knows how difficult it is to lift and dispose of. You can also lay thick black polythene (a heavy-duty one) if you have patches of particularly troublesome weeds such as marestail, bindweed, ground elder or similar. It may be that you need to leave it on for several months. Once you remove the polythene you will have killed some of the weeds. Incredibly some may survive and regrow but in theory they will have been weakened.
A plot that is covered in brambles, thistles and rough tufty grass and perennial weeds is a real challenge. It is best to cut it back as hard to the ground as you can with a brushcutter or strimmer, depending on the woody nature of it. Do check and disturb the area first to frighten away any wildlife such as hedgehogs. Also be careful on allotments as glass, metal and other debris can be hidden beneath the undergrowth. If the plot is really large, why not allow an area to remain ‘wild’ at least for several months to allow a wildlife corridor for any creatures you disturb by the new cultivations? You could even ‘maintain’ that area in the future as a dedicated wildlife patch and add flowers or log piles to increase the diversity.
Once you have got the worst of the growth and debris off an area you want to cultivate, then you can dig over small sections and remove as many weeds and roots as you can. If you are not averse to spraying and you are doing this job in the spring/summer, you could wait for the inevitable regrowth and then spray it off.
To rotavate or not to rotavate – that is the question. A tricky one because in theory the blades chop up any perennial roots and these often resprout en masse, but you have to weigh it up. With a beast of a rotavator you can create a deep, fine tilth quickly. If you plant or sow into this you will get weeds coming through but the root pieces may be smaller so are actually easier to extract, and with regular weeding in the first couple of years you can get on top of the worst of it.
The best crops to plant in new areas of an overgrown allotment are potatoes, which are tough and the cultivation of this crop with the earthing up and deep-rooted nature of them means you cultivate the soil as you grow and harvest. You could try onions and garlic if white rot is not endemic on the plot. Other crops that you grow can be started off in pots first, such as beans or brassicas. The fine seeds of salad crops may not compete with the dense weed growth that may occur plus you may struggle to identify what are weeds and what is your salad crop; starting off salads in cell trays and planting out later may help.
There is no easy quick fix with an overgrown allotment but doing small sections at a time, persistence and regular weeding will pay off.
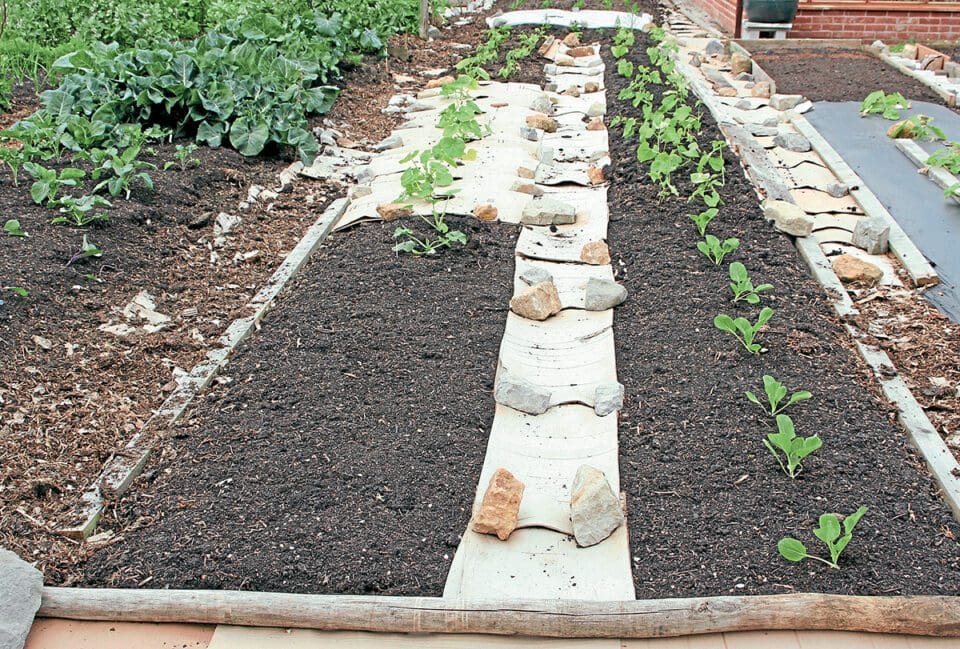
RAISED BEDS OR NOT?
Whether you decide to have a veg plot of raised beds or to garden at ground level is a matter of personal preference. The aforementioned no-dig and lazy beds are the equivalent of raised beds but without the sides and are a cheaper way of achieving similar. Raised beds are more costly to set up unless you have a source of recycled materials. They do make things neater and are easier to manage, especially if the sides are reasonably high. These are particularly good for people with mobility issues. However, the higher the sides, the more material you will need to fill the beds. Soil is best so this may need to be bought in. A raised bed can also be as low as a few inches to just create ‘an edge’ although these can be more of a trip hazard! The paths can be grass or, as pictured above, you could lay a membrane when you are creating the beds and this can be topped with gravel or bark chippings. This will certainly prevent a lot of weed growth but a membrane is not vital if you are happy to weed the pathways.